I was making so many of these the other day, I thought I'd do a little blog and show the process! They're pretty little bangles and look lovely stacked with other bracelets and jingles!
Here's how I do it :)
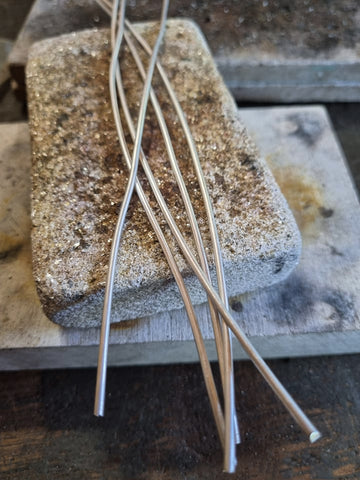
All the skinny bangles start their lives as plain round 2mm sterling silver wires. I get this in a coil and unravel as much as I need.

The wire is then trimmed to size.
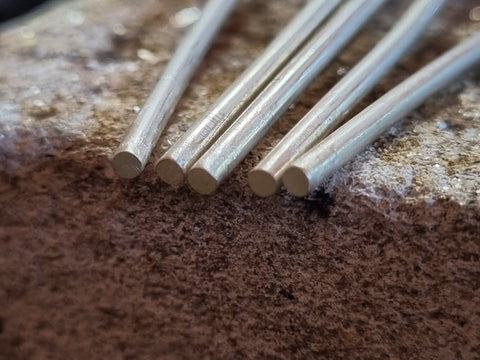
Before the ends can be soldered, they need to be filed completely flat (very important, if they're not completely flat and don't match perfectly they're not going to solder together!)
I use this fancy shmancy gadget that costs a bleedin' fortune (for what it is physically) but is actually a real help in the workshop, because you slot the silver through the holes and it gives you a perfect flat edge to file against.

Slot it in, then the pokey bit (technical term!) on the other side gets a filing!

Once the ends are totally flat, it's solder time. At this point I don't worry too much about the shape of the bangle (that comes later), I'm just wanting the ends to match perfectly. With sterling silver you have to make sure that you're heating all of the silver at once (not just one spot) otherwise the solder is just not going to flow. So gently does it otherwise it'll end up a heap of melted gloop - and that's really annoying!

Then once quenched and pickled (to take the fire scale off) it goes on the mandrel for shaping with my ancient (and needs replacing!) mallet.

Once I've got the general shape, it's time to add some texture to the wire, by hammering it some more, but with a different hammer this time! :)

This not only gives the bangle some sparkle, it also hardens the metal so it doesn't go all flimsy when you try to put it on!
The basic hammered unpolished bangles.

Now for the charm.
I have drawn various sized templates of the Isle of Wight in Photoshop - and print these on sticky labels which I then transfer to the sterling silver sheet ready to cut out. The sheet comes with a blue film on it to protect it. Using a jeweller's saw, I 'pierce' out the shape.

The charm before hammering and polishing.

The charm then gets hammered!

The hammering kind of 'facets' the charm, so when it's polished it will catch the light and give it a twinkle!
Then I drill the hole for the jump ring.

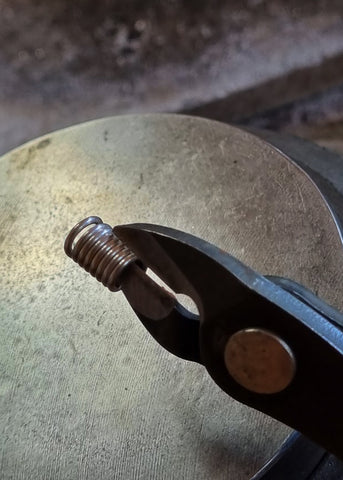
Next is to make the jump ring. For this I use a 1mm round sterling wire to make a sturdy attachment. I make jump rings as I go, and use this little thingymajig (another technical term) to wrap the wire around into a coil. (best selfie ever - I must remember to brush my hair before taking pics for blog posts!:D)


Then I trim the coil to make separate rings (some jewellers use a saw for this, but I've sliced so many fingers using that process that I like to keep it simple!:)

Then I attach the charm to the bangle!

and solder the jump ring closed

The whole piece then goes back into the pickle and then gets polished to within an inch of its life until it looks like this!

And that's the process of making an Iceni sterling silver Isle of Wight Stacking Bangle!
You can see the whole of the Iceni Isle of Wight range by clicking here